
How to Add a DKIM Record to DNS in WEDOS
Prerequisites
You need a domain managed through WEDOS and access to the WEDOS customer center. Before adding a DKIM record to DNS, prepare your selector and public key — you get these from your email service settings. For a detailed guide on generating a DKIM key, see How to Set Up a DKIM Record Step by Step. If you're unfamiliar with DKIM, start with What is DKIM and How Does It Work.
Step 1: Open DNS management in WEDOS
Log in to the WEDOS customer center. In the top menu, click DNS. You will see a list of domains in your WEDOS DNS management.
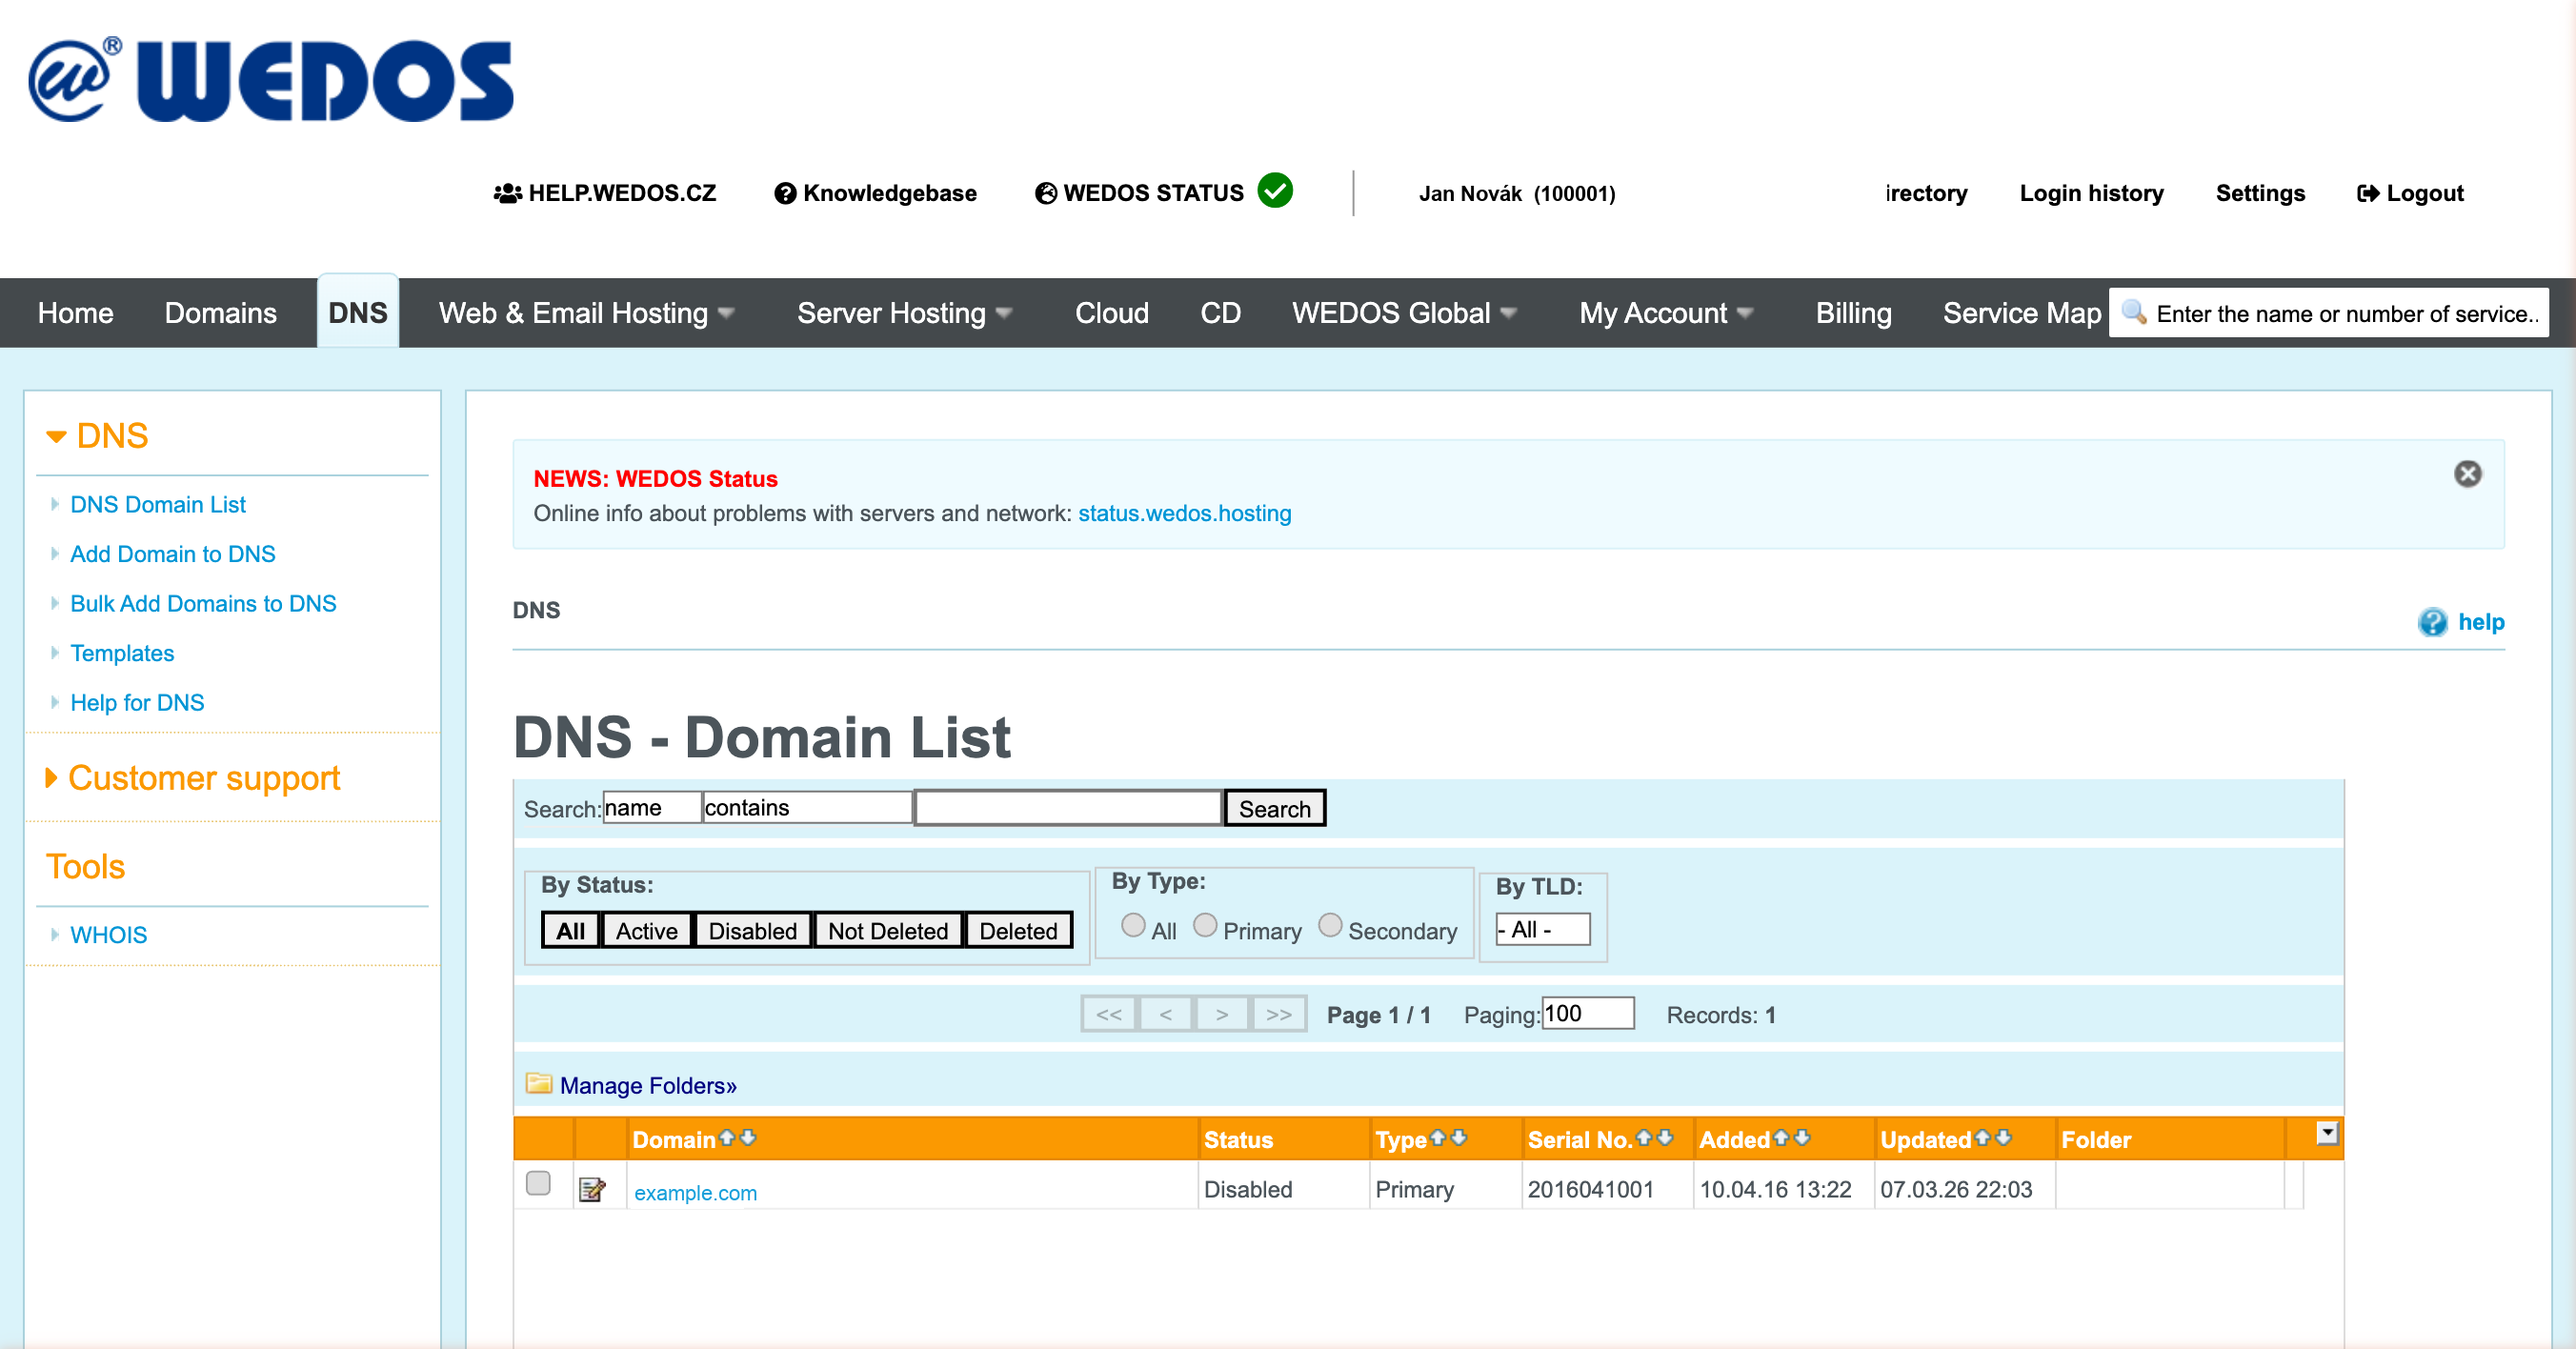 Source: https://client.wedos.com/dns/
Click the domain name you want to add the DKIM record for.
Step 2: Open DNS records for your domain
On the domain settings page, click DNS records in the left menu. You will see a list of all DNS records for your domain.
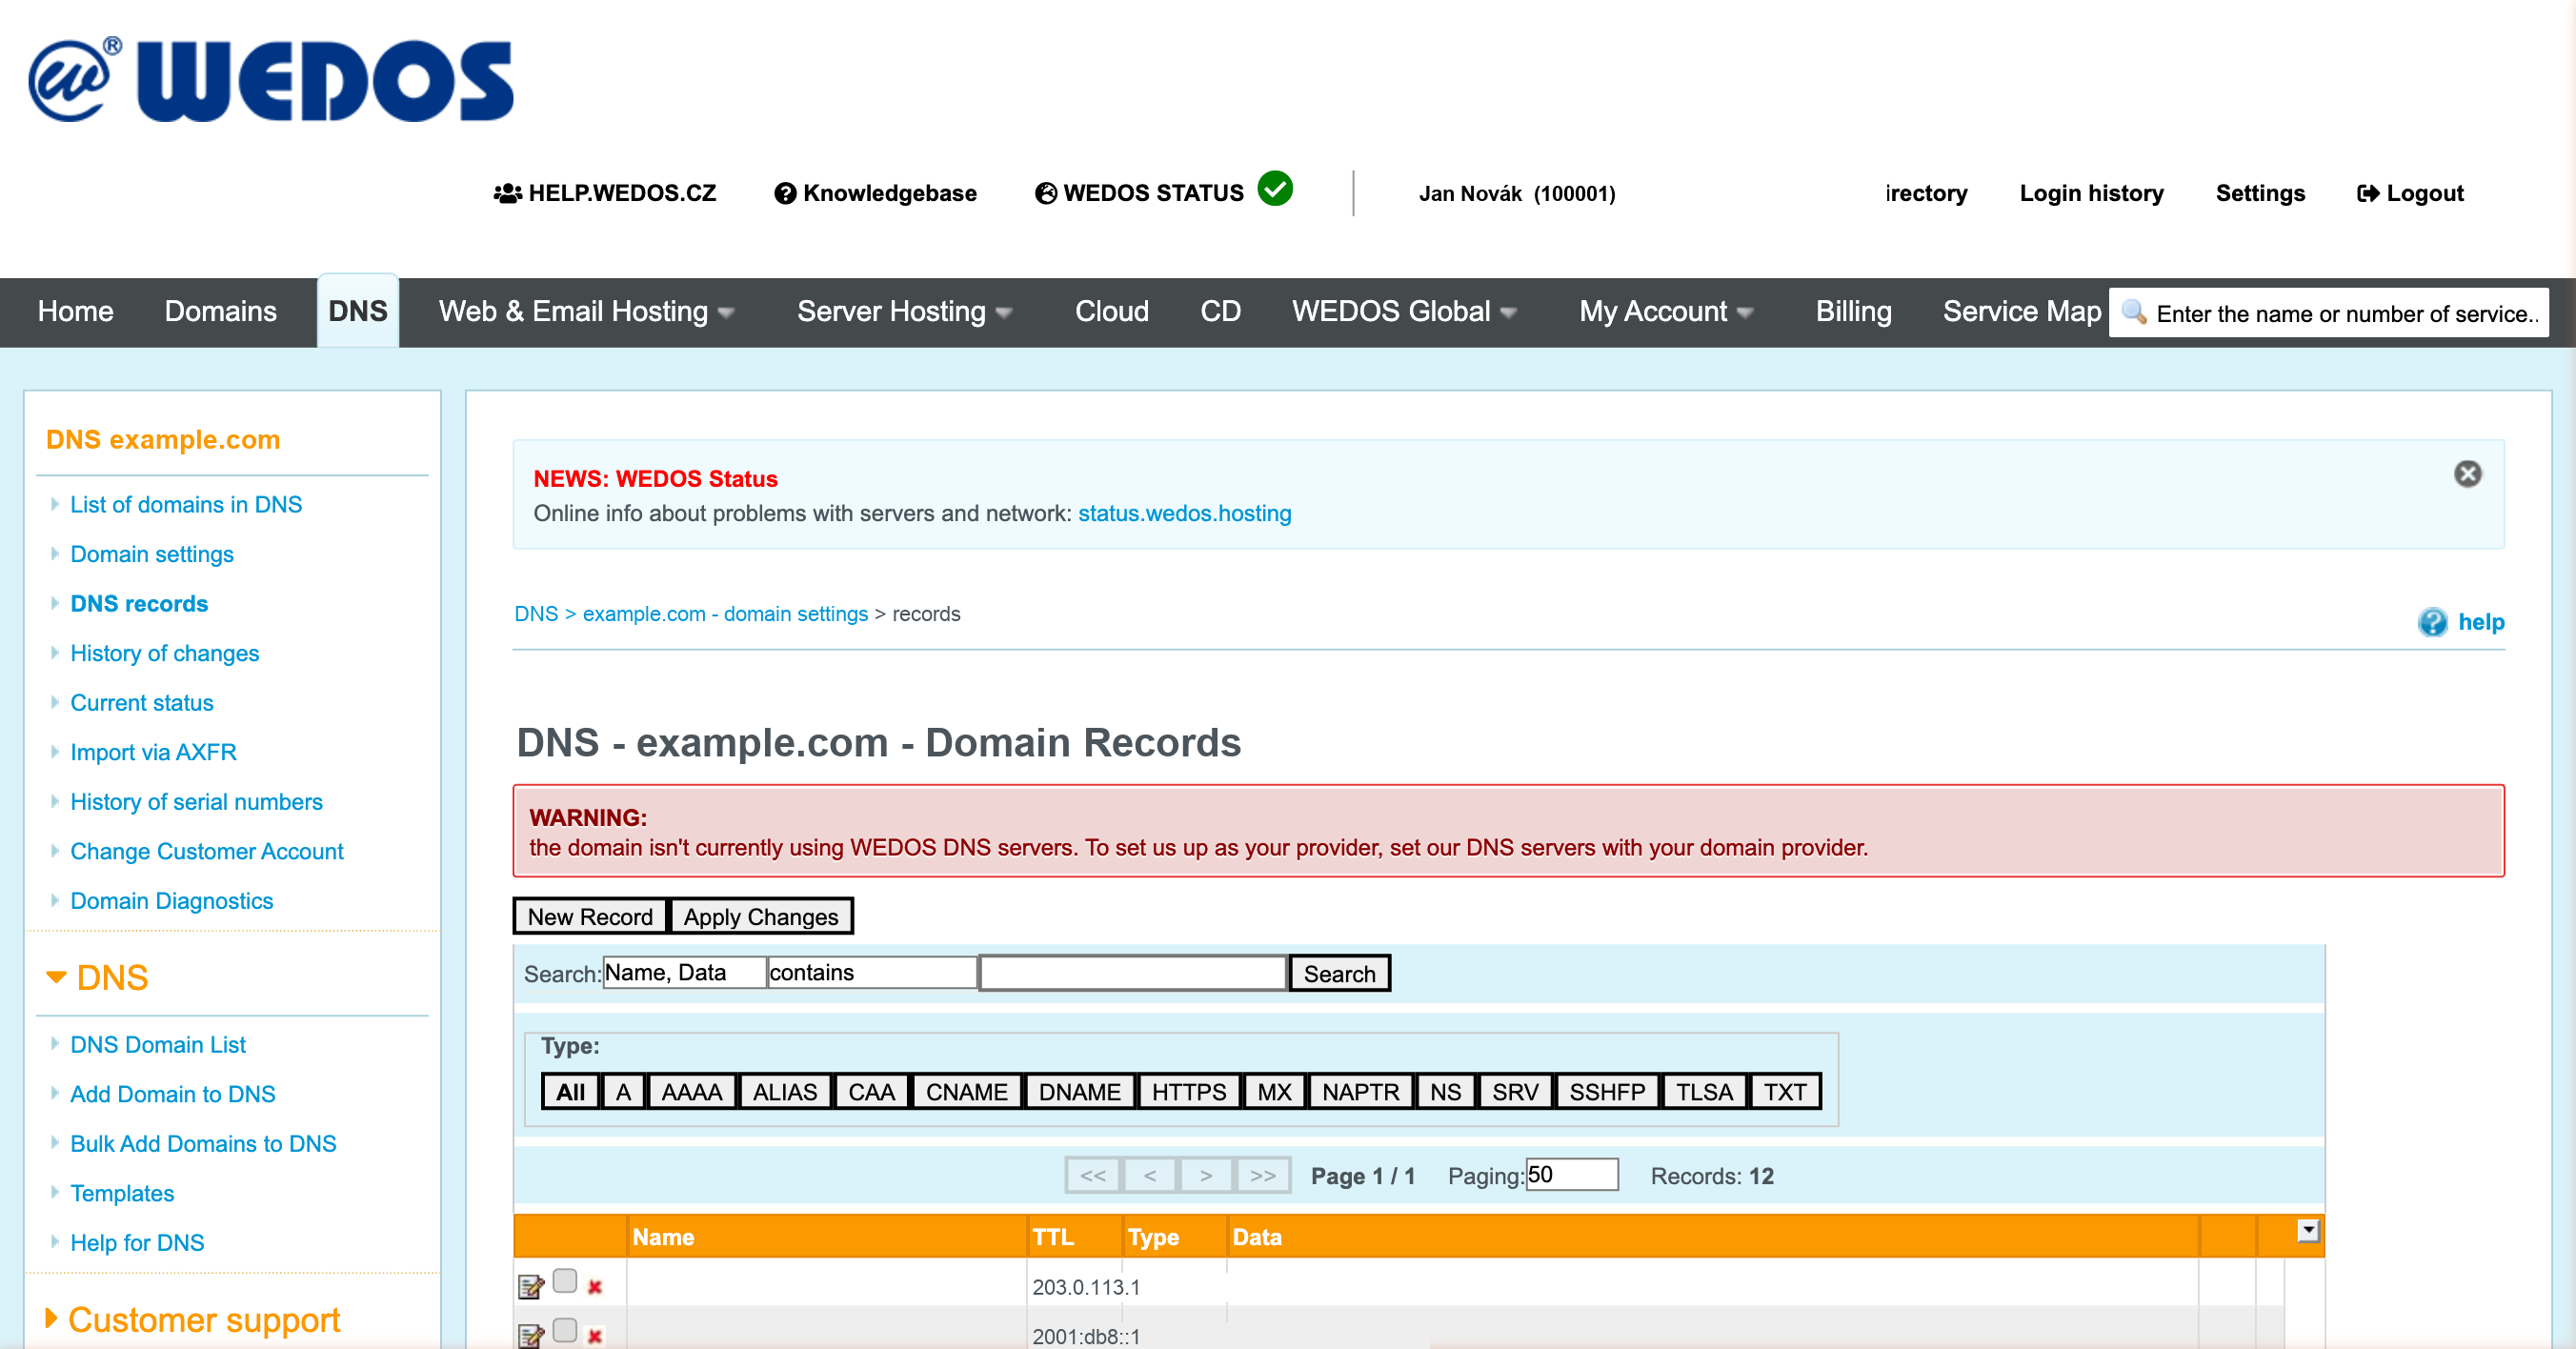 Source: https://client.wedos.com/dns/rows.html?id={domain-id}
Check that there is no existing record with the same name (e.g., google._domainkey). If there is, you need to edit it instead of adding a new one.
Step 3: Add a new TXT record with your DKIM value
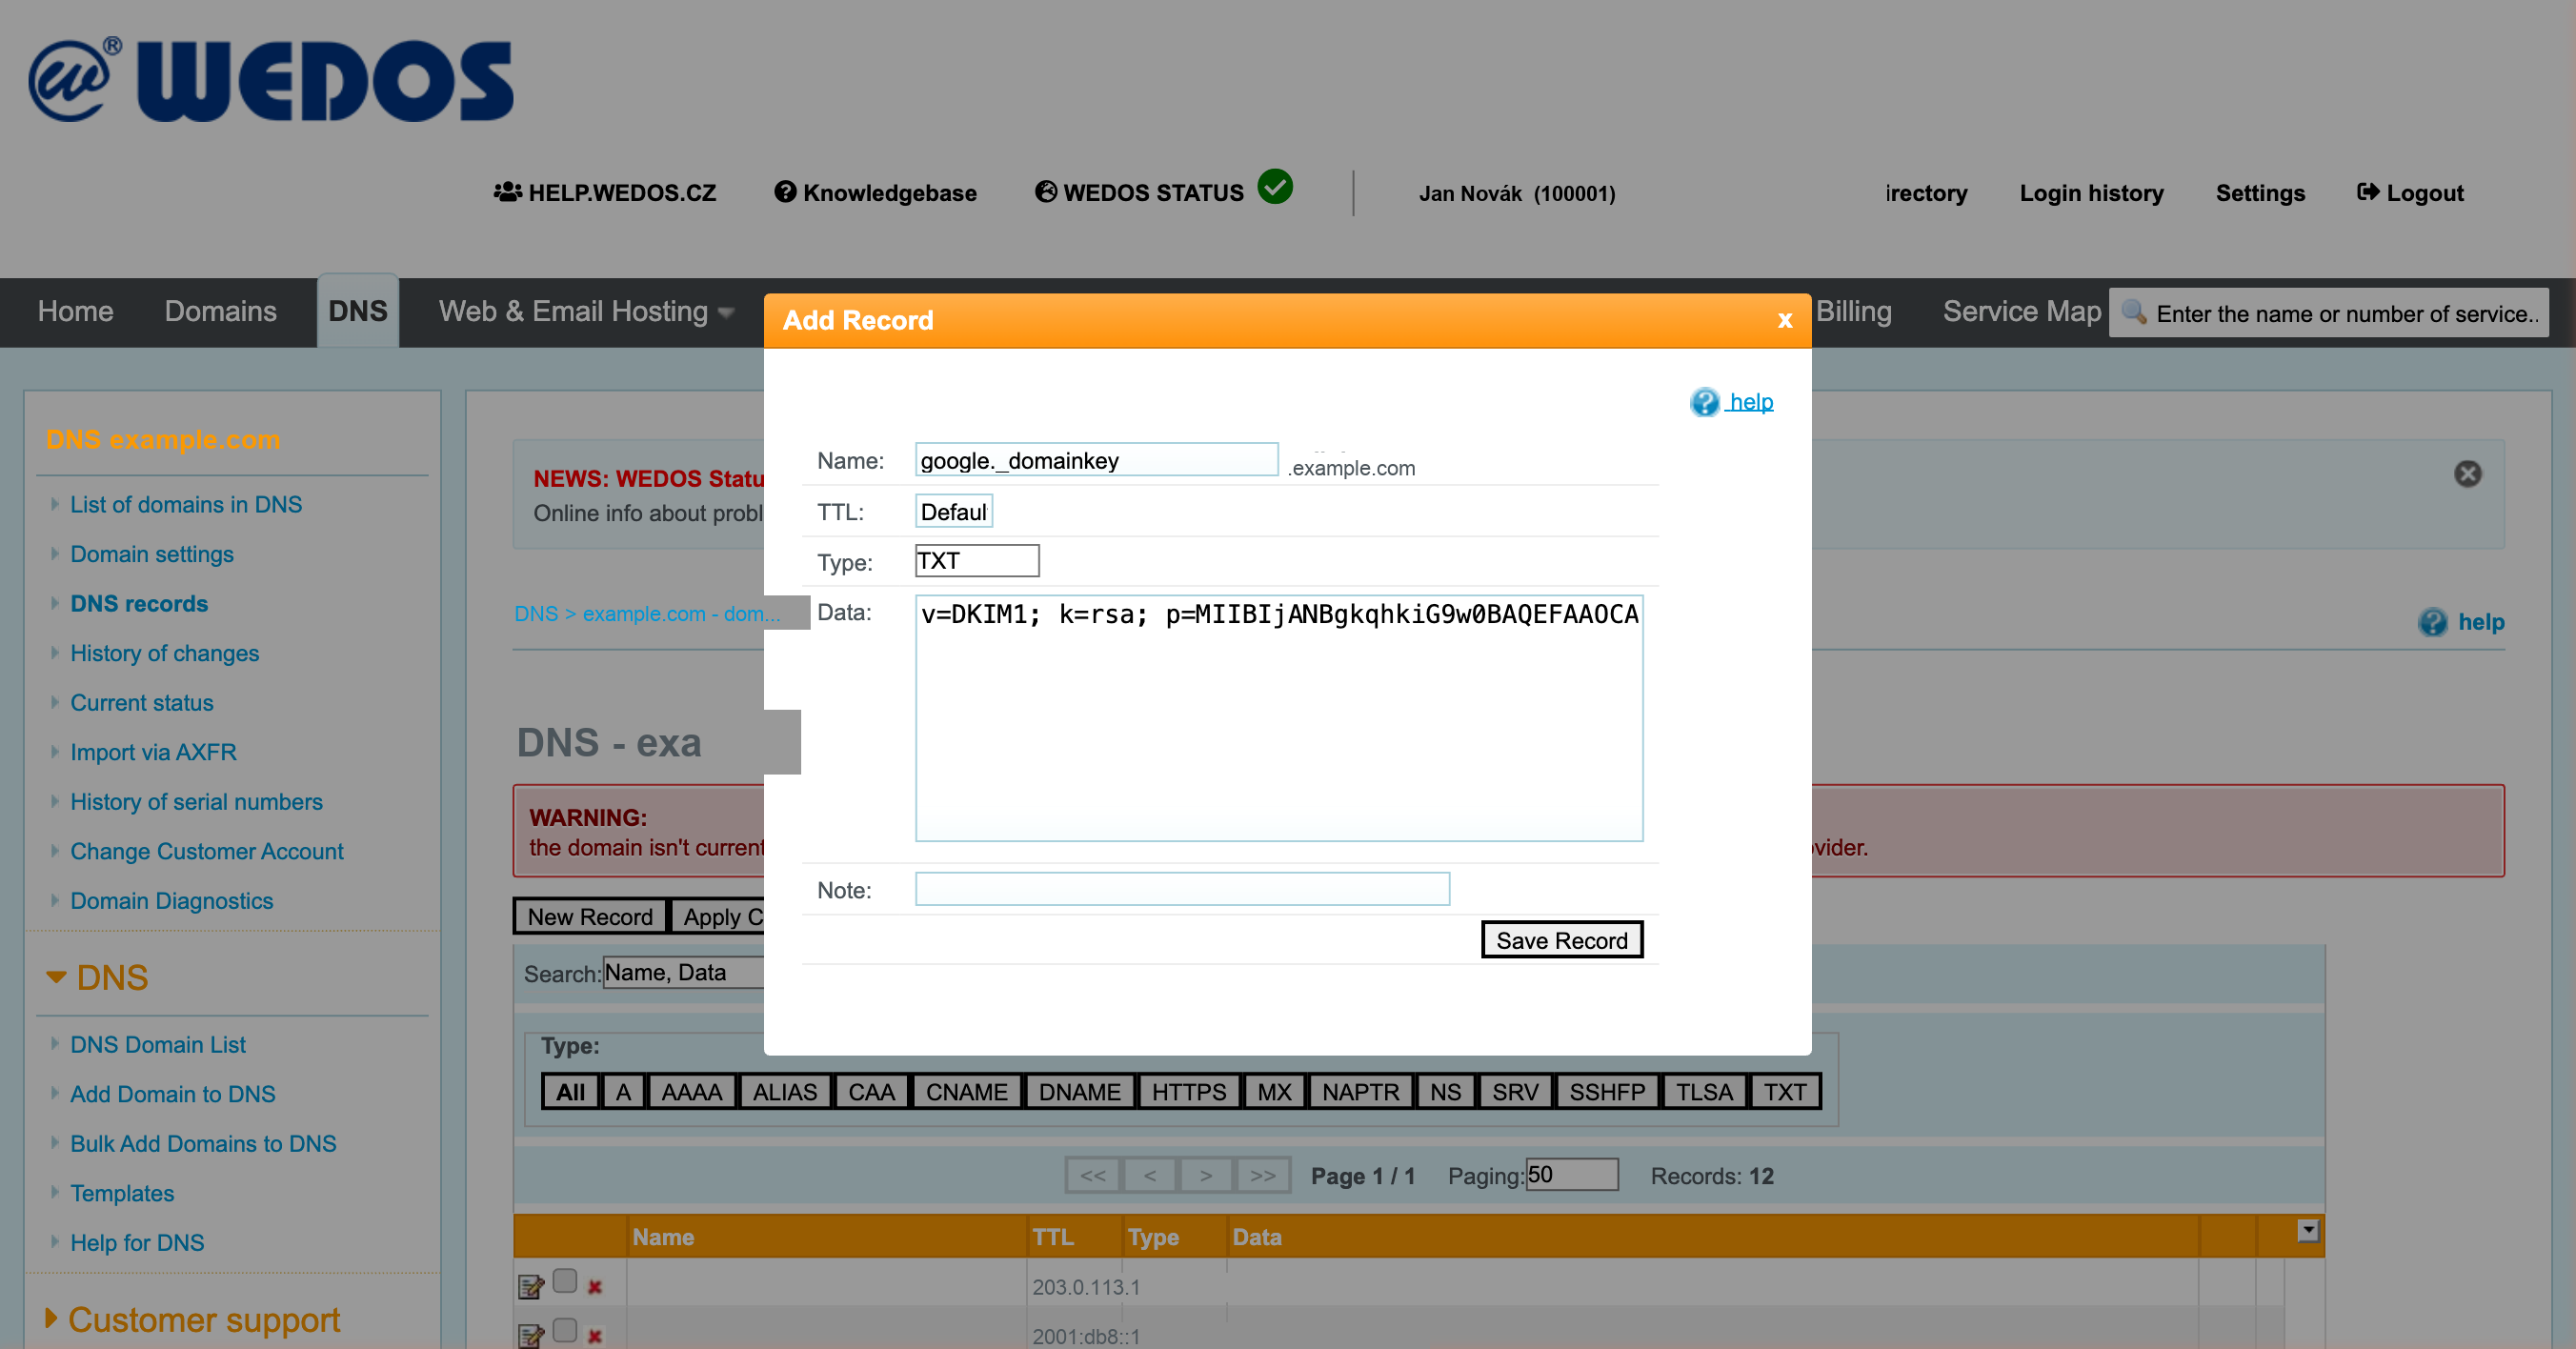
Click the New Record button above the DNS records list. The Add Record dialog will open. Fill in the fields as follows:
| Field | Value |
|---|---|
| Name | {selector}._domainkey (see explanation below) |
| TTL | leave the default value |
| Type | select TXT |
| Data | enter the DKIM value from your email service |
Record name
In the Name field, enter the selector from your email service followed by ._domainkey. Examples for common services:
| Email service | Record name |
|---|---|
| Google Workspace | google._domainkey |
| Microsoft 365 | selector1._domainkey |
| Other services | selector from your service settings |
For details on what a selector is and how to find yours, see DKIM Selectors.
Record value
In the Data field, enter the DKIM value you obtained from your email service. To build the record from your public key, you can use our DKIM Generator. Example for Google Workspace:
v=DKIM1; k=rsa; p=MIIBIjANBgkqhki...
Copy the value exactly as displayed by your email service — do not modify it.
Here's what each part means:
| Part | Meaning |
|---|---|
v=DKIM1 |
protocol version |
k=rsa |
key type (RSA) |
p=MIIBIjAN... |
public key (Base64) |
 Source: https://client.wedos.com/dns/rows.html?id={domain-id}
Click Save Record.
Step 4: Apply changes
After saving the record, a yellow notice will appear: "You have made changes to DNS that have not yet been applied." The record is visible in the list but not yet active.
Click the Apply Changes button. A confirmation message will appear: "Changes have been saved and will take effect within 60 minutes."
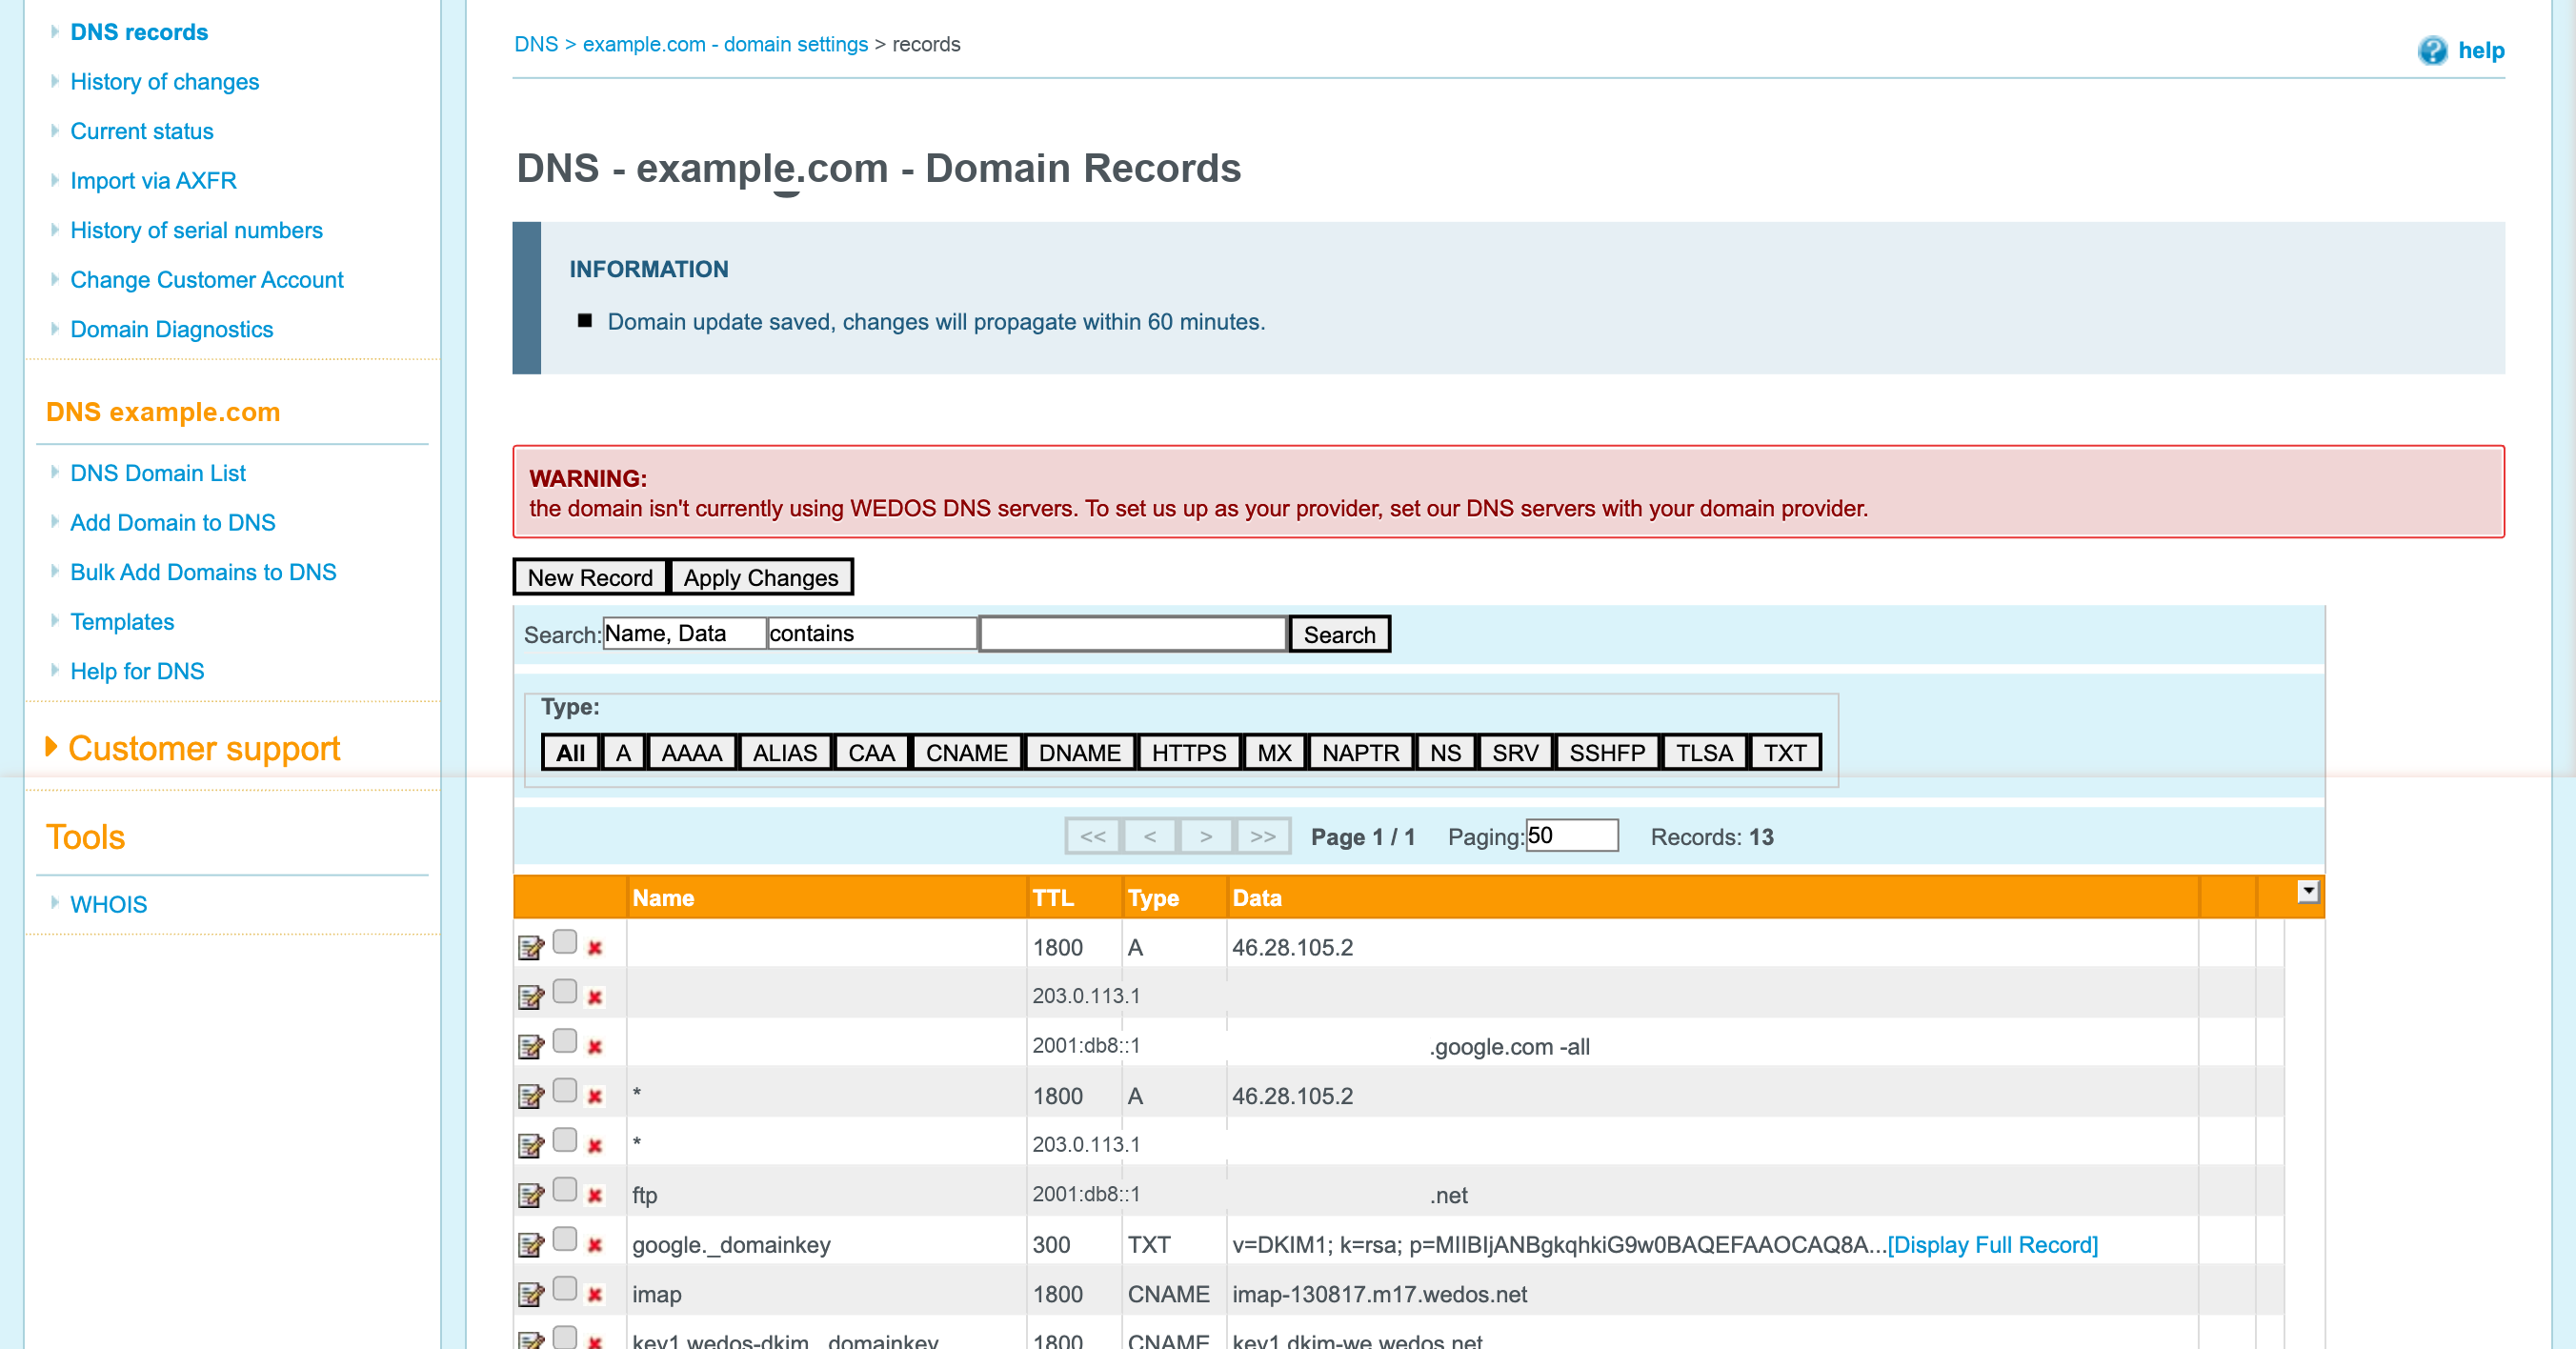 Source: https://client.wedos.com/dns/rows.html?id={domain-id}
Step 5: Verify the DKIM record
Wait at least 60 minutes for the changes to propagate in DNS. Then verify that your record is set up correctly. Enter your domain and selector in the DKIM analyzer on SPFmonitor — it will check whether the public key is correctly published in DNS.
For a detailed verification guide, see How to Check Your Domain's DKIM Record.
Next steps
After adding the DKIM record, check the remaining email authentication records:
- SPF — if you haven't set up an SPF record yet, follow How to Set Up an SPF Record in WEDOS.
- DMARC — set up a DMARC policy to instruct recipients how to handle emails that fail authentication. See How to Set Up a DMARC Record in WEDOS.


